Showing posts with label wavy lines. Show all posts

Saturday, February 12, 2022

Fading away - finished

This quilt has been finished for quite some time, but for some reason I never got around to officially blogging about it.  Today is the day to remedy that!

I really like this quilt and how it fades into blackness.  While I was pregnant and feeling terrible (seven years ago) all I did was make large strips of scrap fabric.  Most of them were used for a different scrap quilt, but I had enough to make this one too.

I added invisible blocks for the blocks/strips that are missing in the quilting areas, and some wavy lines in the areas that are "supposed" to be black.

It was a fun trip down memory lane, using all the scraps.  While I'd like to keep it, I also only need so many quilts in the house.  I think this quilt will be donated to help with adoption fees instead.  The back, while not shown, is a black minky.  Nothing too special about it other than it's soft.

Monday, February 17, 2020

Stash Bee 2019

I finished last year's Stash Bee quilt fairly quickly this time around.  I really like how it turned out.

The original idea was from a different stash bee quilt. I modified it a little bit to match the current requirements, but it is still the same idea.  This block was nice because if the block was a little bit too big it was easy to cut off a side; there weren't any points that had to line up once I put in the sashing.

I found some cuddly fabric with almost the same colors.  It's missing green, but I thought the vehicles would be nice for the baby boy.

I accidentally bound it with a normal binding instead of sateen.  Oh well.  I used Kona Nautical for the sashing so worked very well as a binding too.  Oh...the quilting.  I knew there was something I forgot to mention.  It is just wavy lines, but not in the sashing.  Nothing too special, but it's been a while since I've used wavy lines and it went quickly.

Friday, November 23, 2018

Gigantic wedding quilt - finished

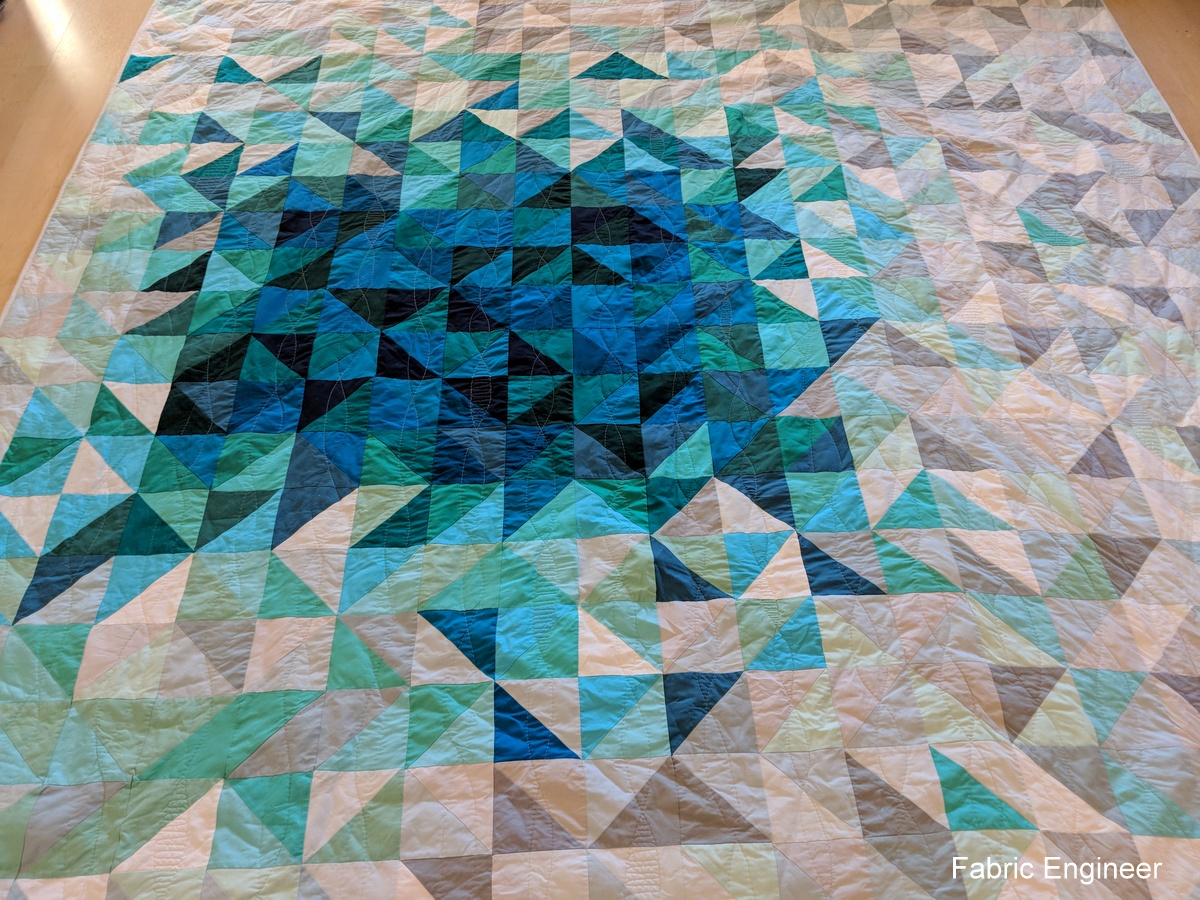
The wedding quilt is finished!  While I really like how it turned out, the main thing I remember about is it that it was huge.  It's for a king bed and I added a bit extra to the sides since I like having a bit extra there...that way it is harder to steal the covers in the night.  The idea for the design came from A Quilter's Table.


I was really nervous about this as I made it.  I really only saw small sections together at a time and I didn't love it at that point.  I was afraid that the dark section was going to be too dark.  The kona colors I used include:
Extra dark: navy, spruce
dark: mediterranean, teal blue, oasis, and ultra marine
medium: bluegrass, candy green, jamaica, shale, iron, pool, and azure
light: dusty blue, sky, ice frappe, fog, ash

But after I laid it out at the end, I like it a lot more.  I didn't get to see it on the bed, and I'd be interested in seeing it sometime...the dark part should cover most of the main part of the bed with the light part draping down.

I knew I needed some easy quilting for this, so I just did some double wavy lines, one set per row.  To make it a little interesting I added some back and forths to one or two of the bubbles in each row.  This worked well, because it also helped hide some of the flaws.

I backed it in minky.  It makes the quilt bulkier, but I do love minky.  All adults seem to, even if it isn't an 'adult' fabric.

Phew.  While I do like how it ended up, I really am glad that it is done.  If I ever do a king sized quilt again, I need to go with the 'normal' king quilt dimensions.  I think that would have helped some of the quilting issues (that I didn't talk about).

Friday, February 16, 2018

Ombre quilt

This quilt was finished...and gifted...last October but I haven't posted about it yet.  I've given myself some grace about it and will slowly get caught up with everything.

Anyway, the Ombre quilt.  I love this one.

It started with an ombre piece of fabric that I picked up at an AQS quilt show several years ago.  I try to not get fabric unless I have a purpose for it, but this was one piece where that didn't work.  I finally realized that if I cut a square of fabric into quarter triangles, I could use the top and bottom for one hourglass square and the sides for the other hourglass square and keep the color graduation intact.


Needless to say, I was rather sick of sewing hourglasses by the time this was done, but it was worth it.

I wanted a rather fast quilting motif, along with one that wouldn't distract from the piecing.  So I did wiggly lines down the center of each row.


As normal, the back is a minky and it is bound in sateen.


Linking up with Finish it up Friday...even if all I did was finish the blog post. :)

Monday, November 21, 2016

Stash Bee quilt - finished!

I was part of a quilting bee this year.  This bee is exactly what I was looking for in a bee.  The rules and guidelines are there, but there are few limitations on what you can choose for your block.  I received all my blocks within two months and the last person was in communication and so I knew that she just needed more time.  (It seems like a small thing, but previous bees haven't gone that well.  Not bad, but this one has been the best.)  It might have been fun if hive had been a bit more social, but it's not as though I did anything to promote that and everyone, including myself, is busy.  I'm hoping to do it again next year and will find out in December if I got in.

This year I choose a random HST in grey scale with pops of color.


I asked for the other members to use at least three different shades in the white to black spectrum, all solids.  Because I do love my solids.  One of the triangles was to be a different color.  I did let them know that it was going to be for a boy, so that's why there are more blues than some of the other colors.


People also sent enough extras for me to make an additional long row.  There was a reason at the time I added the extra row...maybe to balance out the shades a bit?  I don't remember, but since I can't tell I'm going to assume that it worked well.


The squares all lined up very well.  It helped to have nesting seams, but apparently my bee-mates were also great at the quarter inch seam.


I backed it with grey minky and bound it in sateen, per normal.  For quilting I did wavy lines, except for the colored triangles.  In those I did some pebbles.  It was nice and fast, something I was looking for after the previous quilt, while still having in interesting element.


Linking up with Finish It Up Friday.

Saturday, March 28, 2015

A hard finish

I just finished Baby V's quilt.  I had timed it so that it should have been finished about a week ago.  However, the binding acted up on me.  It was terrible and almost made me miss the March ALYOF goal (#70 from the begining of the month).  But maybe I should start at the beginning...

I started this quilt by finding the fabric, which I rarely do.  Then I used a few QDAD sessions to figure out exactly what I wanted to do.  The first quilt came out like this, and while I love it I also knew it looked nothing like what I was going for.


So here was the next try - completely different, but what I wanted (although in different colors).

Here's the finished product. 

Since the print squares go between colors, there were a lot of T-seams.  It was fun to figure out the best way to make it in order to have a miniumum number of pieces and have it not be too hard to make.  The T-seams really weren't too bad though...maybe one of these days I'll be ready for Y-seams.

Her brother also had his blanket pictured on the wood pile.  We got rid of the wood pile, but the wood holder has been a nice prop for quilts.

I really enjoyed quilting this one.  I put a different design in each color and matched the thread...so the back looks pretty cool too.

Grid play in the pink and wavy lines in the orange.

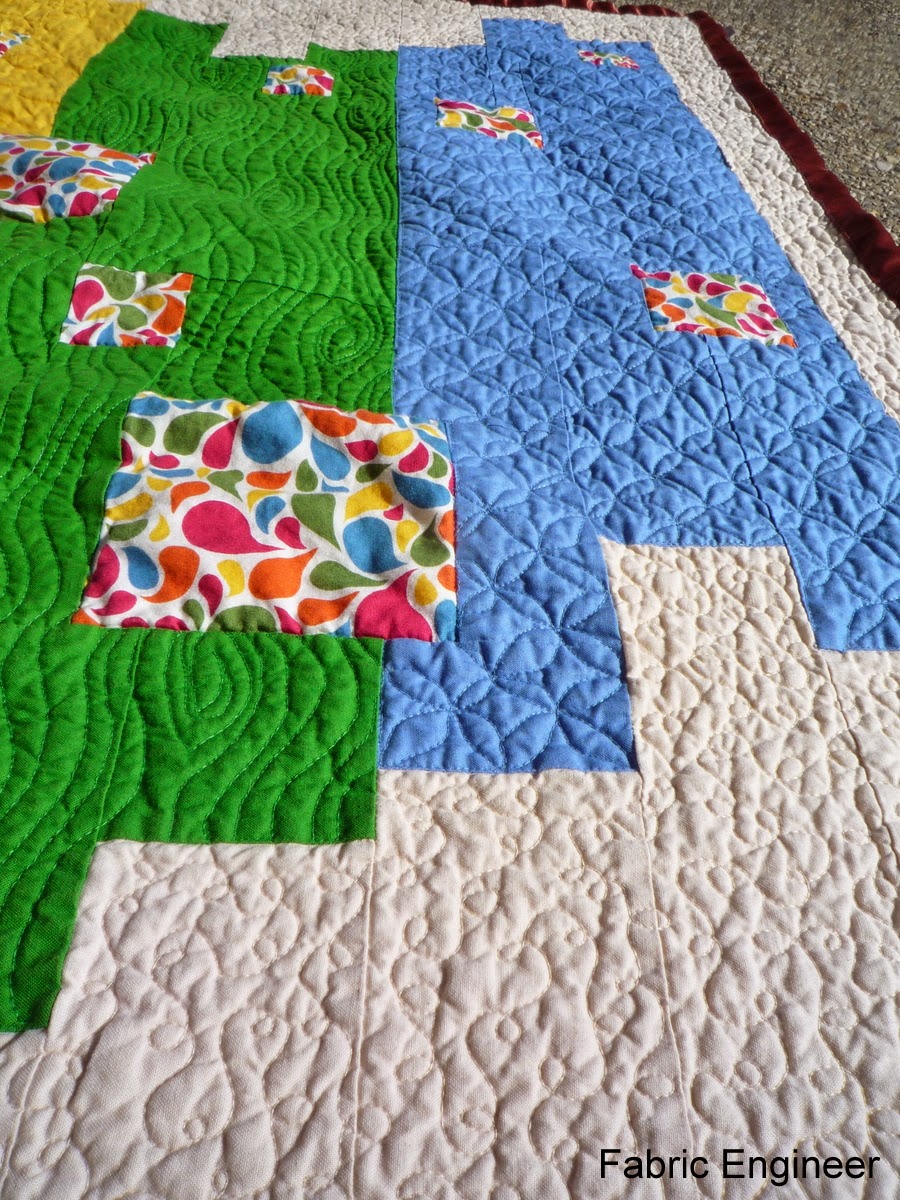
Clam shells in the yellow and wood grain in the green.

Woven cross-hatch in the blue and loops in the background.

So...back to the binding.  I like to use the pre-made satin binding.  I had to go to two different stores to get the two packages I needed.  (And that is after leaving the first store empty handed once because the line was so long and not moving.)  I've been feeling that my bindings are getting a lot better lately, so, of course, I tried to switch it up and make it better.  It didn't work, and I ended up unpicking a bunch of places.  But it's on and when you don't look too closely it looks fine.

Saturday, April 12, 2014

Sarah's quilts

Sarah gave me the privilege of quilting two quilts for her again...and she was very understanding as it took me some extra time due to sickness.

The first one was her mom's.

The middle part was quilted with meandering stars.  Below was my favorite square.  This song kept running through my head while I was quilting it.

The outside border was a normal stipple and was my son's favorite part of the quilt.  He's into stars lately, since they are one of the two shapes that he knows.


I called this the blue quilt, but I guess there is a lot of white and green in it too.  Anyway, I loved the color combo...this picture doesn't show it well because I finally gave up waiting for a sunny day and took the pictures on a rainy day.

The quilting is wavy lines.


Saturday, May 25, 2013

More wavy lines

My mother-in-law asked me to quilt this quilt, and semi-quickly.  (At least, semi-quickly for me.)  I had just down the wavy lines on the last quilt and loved them.  So I did them again.  And I still love them.

I did wavy lines on each side of each edge.  The quilt has a slight water/Hawaiian feel to it, so the waves fit really well!

The only problem I had was with the back.  It is a (very cute) plaid, but I didn't stretch it quite correctly on the frame and I think one edge will be a little distorted.  So with this quilt I learned that it's really important to have enough extra to clamp on to, especially it there are straight lines on the back.

Thursday, May 9, 2013

Finished! Random HST quilt

I've finished my random HST quilt!


Since there are only a few yellow triangles, I tried to find a few yellow things around to highlight them.


The quilting is wavy lines on either side of the seams in both directions.  Pretty easy, but I really like how it turned out.  I really had wanted to include blue in the front, but decided there would be too many colors.  So I put a blue fleece on the back.


And a few more pictures.  I bound it in a sateen so that it would feel nice.

Linking up with Whoop-whoop Friday, LAAF, TGIFF, Free motion Friday, Let's make baby quilts, and Finish it up Friday.

Monday, February 4, 2013

Sarah's quilt

Sarah contacted me a little bit before Christmas wondering if I'd be interested in quilting a quilt for her.  I was thrilled and quickly said yes!

However, I am a pretty slow quilter.  I just finished it, and think it came out pretty well.

The majority of the quilt was done with pebbles in the quarter circles and three wavy lines in the middles.  It is a dusty brown thread, so it shows up well.  I really like how these blocks turned out.

The inner border got criss-crossing lines and the outer border got straight lines.  I'm quite happy with the straight lines...they managed to be straight!  I definitely think I will be doing these again.

The criss-crossing lines are a different story.  I think they are passable, but that's about it.  I offered to take them out when I only had one side done but Sarah said not to worry about it.  I decided that if it was my quilt I'd leave them in...and so they stayed.

Sarah did an awesome job piecing the top!  I realized that as I was doing the outer border...it was so straight and made my job much easier.


Linking up with Freemotion Friday, Whoop-whoop Friday, and LAFF