Showing posts with label maze. Show all posts

Saturday, September 28, 2019

Lego Bricks and Bear

I recently finished a quilt that I designed.  It's been a while since I've designed a quilt from scratch...lately I've seen something that I like and then I adapt it to suit my desires.

Anyway, behold, a Lego Bear surrounded by Lego bricks.

I took the initial pictures and realized I had forgotten to add the mouth as I was looking at the pictures and comparing it to the Lego bear.  It looks a lot better with a mouth.

The bear was used because the baby announcements were Lego scenes.  Both of them had this bear in it... (picture link).  The parents recognized the bear right away, so that was a relief.

This was my first time doing circles.  I don't know what the official term is for what I did, but I folded the fabric over and then zig-zag stitched the circles on.  They weren't perfect by any means, but not too bad.  The colors I used were Kona key lime, corn yellow, citrus, coral, chartreuse, mocha, charcoal, steel, med grey, malibu, straw, pacific, and tomato.

I went with a maze design on the Lego bricks in a matching thread color.  For the teddy bear I put in loops as I thought imitates the fuzziness of stuffed animals.

This was a larger baby quilt than I normally make, and so the backing I got wasn't large enough.  I added some green around the plaid I had originally chosen.

(Part of the Q3 FAL)

Saturday, September 15, 2018

Robot quilt - finished

A while ago I finished my son's quilt.  However, since it was staying in my house I delayed in documenting it.  But finally did.

His favorite color is green, and I found some Galaxy by Makeover UK that had robots and spaceships, also some of his favorite things.


While I like how the design turned out, I'm less than thrilled with the quilting.  I couldn't decide what I wanted to do, so I did half  maze (or circuit board) and half meandering starts.  I only quilted the green triangles, and tried to do the opposite motif in neighboring green blobs.

I did fussy cut out the robots as well as possible.  


The back is a robot minky.  The binding is a green Kona...I don't remember which one.

This is my favorite picture.  A robot quilt by a robot...at least the best one I could come up with.

Friday, May 25, 2018

Grandma's robot quilt

I had the privilege to quilt my son's quilt given to him by my mother-in-law.  As the youngest grandchild, this is the last grandchild quilt...at least until everyone needs another one. :D


We chose the pattern together...the fabrics are the same ones that she used for my oldest's quilt.  Matching things are always so fun.  (Interestingly, in the six months it's taken me to post this I haven't really thought of them as the same colors.  The other quilt has a long more of the white/grey in it.)

I put back and forths in the white diagonals and in the white border.  I did figure 8s in the colored border in matching thread...there were a lot of tails to deal with at the end.  I also have a maze in the outermost border, but you need to look at the last picture to see that.

The part my three year old likes the most though is the robots on the back.  They're made from a soft minky, which makes them nice to snuggle up with every night.
Linking up with Finish It Up Friday.

Monday, February 22, 2016

Matrix - finished

My new nephew arrived last month and I'll finally get to meet him next week.  So I finally took pictures of his quilt.


The pattern is Matrix by Anne from SpringLeaf Studios.  She has a beautiful rainbow version, so I thought I'd try it with some gender neutral-ish colors.  As a side note, this pattern was excellently written.  I don't use patterns all that often, but this was worth it.  It is more than a pattern - there is also some theory about how the quilt works, a coloring page, and several different color examples.

Earlier I mentioned that I wished I had spent more time with the color layout, but now that it is all quilted and bound I really, really like it.  I'm glad that it all worked out. :D


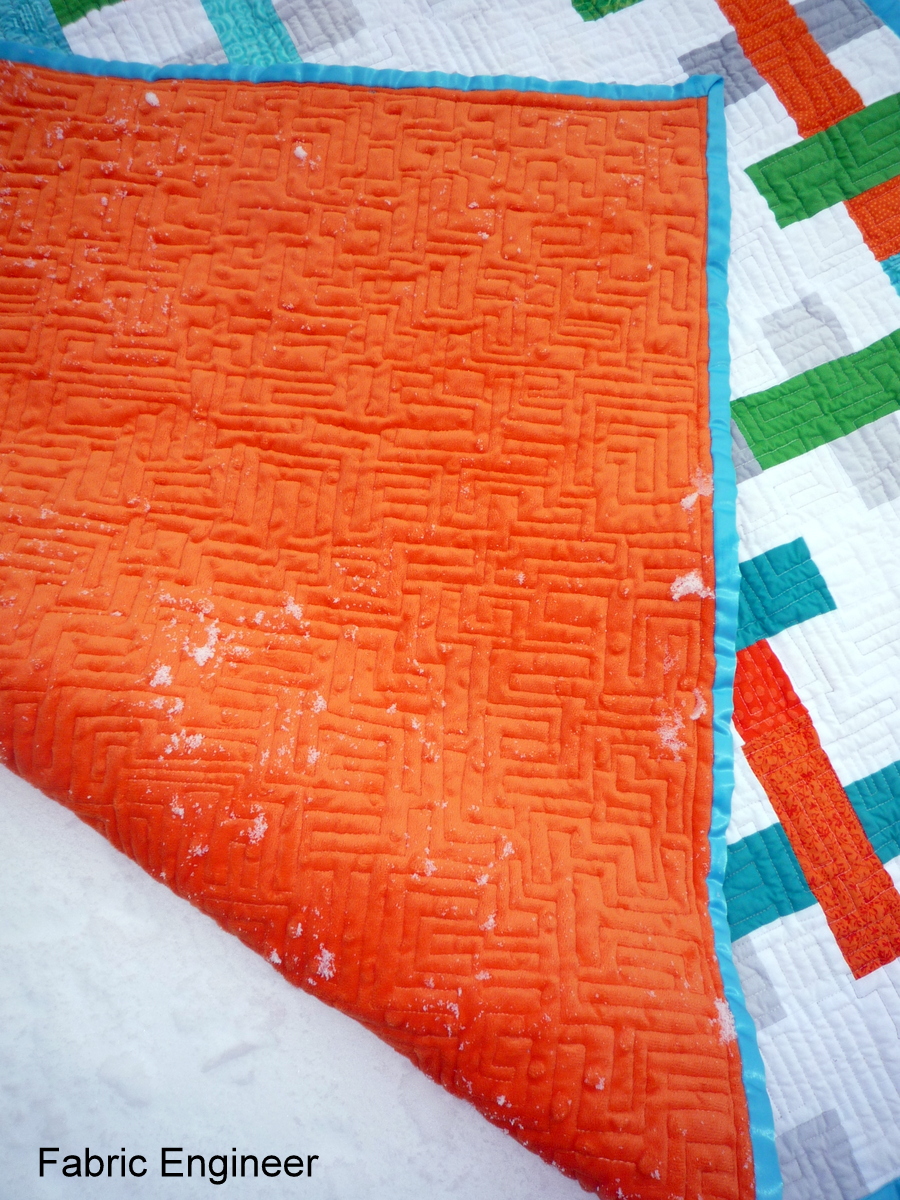
I backed it, as normal, with minky and bound it in blue sateen.    I did a square stipple / maze.  (Update: it is called circuit board.)  I'm sure it has an official name, but I don't know what it is.  I used a varigated dark grey - white thread.  It worked well with the colors that were already in the quilt.


Oh, the other thing I was going to mention is that I used two layers of batting.  Not for extra heft but for practical reasons - so that the orange from the minky didn't pull through to the front.


Linking up with Sew Cute Tuesday and Finish It Up Friday.

Tuesday, October 15, 2013

1-up - finished!

The 1-up quilt is finished!  It was requested by a friend and based on Cut to Pieces Super Mario Bros. QAL.  I added the clouds and ground so that it would be rectangular.

I found some fabric with squares on it for the back, to keep with the pixelated idea.

Quilting took a rather long time on this quilt, although it could be that school started up around the same time so I just had less time overall.  For most of the sky I put squares and rectangles, but also added a few Easter eggs.  I know they're hard to see, but that was kind of the point.

Some bricks and question marks,
source: http://www.giantbomb.com/mario-block/3055-702/images/


some mountians,
source: http://www.smashingmagazine.com/smashing-newsletter-issue-50/

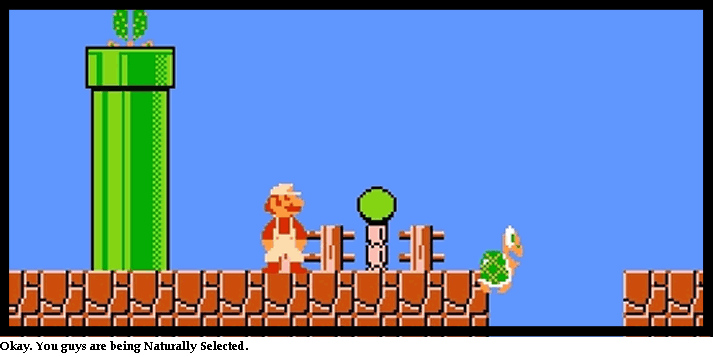
and a pipe.
source: http://gamecola.net/2006/01/what-the-crap-super-mario-bros/
You can also see in the picture above that I did back and forths for the grass and square pebbles for the dirt.

Finally, the 1-up dude was mostly done using a maze pattern, with back and forths in the black area.  The thread always matched the fabric color.

The quilt was bound so that the binding matched the quilt.  (So it is sky blue for the sky area and brown for the dirt area.)  (I had a picture for this, but really it's easier to see on the quilting close-ups above.)

And finally, no video game quilt would be complete without a picture of some controllers.  Now, if he only had hands.

This is my finish for A Lovely Year of Finishes!